
Full Auto Detail Process for a Spotless Finish
- Nov 6
- 7 min read
A spotless car turns heads everywhere, yet many car owners overlook just how much a deep detail can transform a vehicle’s appearance and value. Regular auto detailing can maintain up to 15 percent more value in your car over the years, according to industry experts. Whether you want that mirror-like shine or need to protect your investment, mastering the right steps and products ensures stunning results. This guide breaks down the detailing process into clear, achievable actions for anyone seeking professional-level results at home.
Table of Contents
Quick Summary
Key Point | Explanation |
1. Gather high-quality detailing tools | Collect essential supplies like microfiber towels and automotive soap to avoid scratching your vehicle’s surface. |
2. Use a clay bar for decontamination | Employ a clay bar with lubricant to remove embedded contaminants, ensuring a smooth paint surface before polishing. |
3. Polish and wax for shine protection | Apply polish using a microfiber applicator and protect with wax to enhance shine and shield your car’s finish. |
4. Thoroughly vacuum and clean the interior | Remove personal items and use appropriate cleaners to ensure your car’s interior is well-maintained and protected from wear. |
5. Conduct a detailed final inspection | Inspect every surface in natural light to identify and touch up any imperfections, ensuring a flawless finish. |
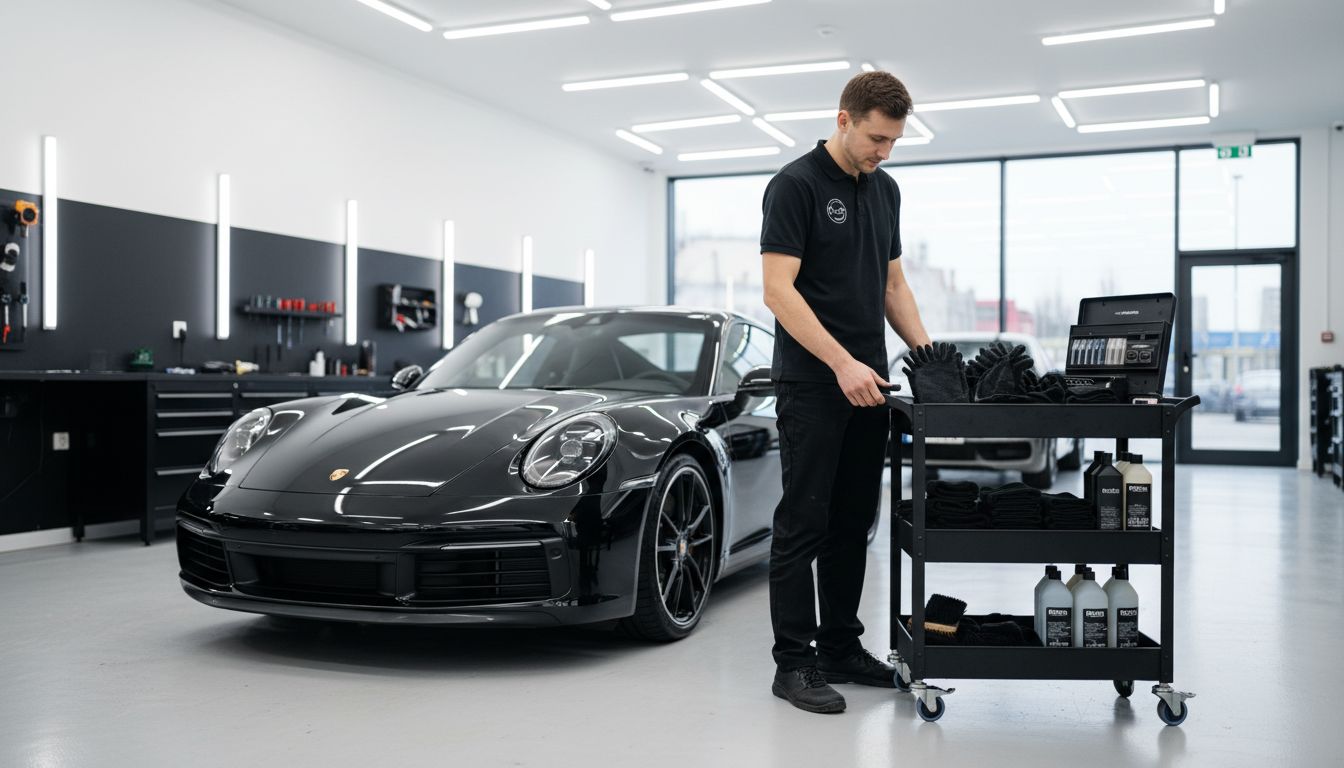
Step 1: Prepare your vehicle and gather detailing tools
Preparing your vehicle for a professional detail requires strategic planning and the right equipment. This initial step sets the foundation for achieving a showroom quality finish that will make your car look incredible.
According to the National Kidney Foundation, the first phase of car detailing involves careful preparation and gathering specialized tools. Start by collecting essential supplies like microfiber towels, two wash buckets, automotive specific soap, and multiple cleaning cloths. You will want high quality microfiber towels that will not scratch your vehicle’s surface and multiple soft cloths for different stages of cleaning.
Your tool collection should include key items such as:
Wash mitts
Multiple microfiber towels
Automotive soap
Two separate cleaning buckets
Soft detailing cloths
Wheel cleaning brushes
Clay bar kit
Car wax or ceramic coating applicators
A pro tip when gathering your supplies is to invest in quality tools. Cheap materials can potentially scratch or damage your vehicle’s finish. Auto Detailing Steps Explained: A Complete Guide recommends purchasing professional grade materials that will protect your investment.
With your tools assembled and vehicle ready, you are now prepared to move forward into the detailed cleaning process. The next step involves thoroughly washing your car to remove existing dirt and preparing the surface for deep cleaning.
Step 2: Clean and decontaminate the exterior surfaces
Cleaning and decontaminating your vehicle’s exterior surfaces is a critical step in achieving a professional grade finish. This process removes embedded contaminants and prepares the paint for subsequent treatments like polishing and protection.
According to the University of Central Florida’s Auto Detailing Guide, using a clay bar is essential for removing embedded contaminants from the car’s paint. The National Kidney Foundation recommends washing the car thoroughly with soap and water before using a clay bar with appropriate lubricant.
Here are the key steps for effective exterior surface decontamination:
Wash the entire vehicle with automotive soap
Rinse thoroughly with clean water
Apply clay bar lubricant generously
Gently glide clay bar across paint surfaces
Check for smoothness by running your hand across the paint
Wipe surfaces clean with microfiber towels
A pro tip is to work in small sections and keep the surface well lubricated to prevent potential scratching. Exterior Detail Paint Decontamination emphasizes the importance of using proper technique to avoid damaging the paint.
With the exterior surfaces now clean and decontaminated, you are ready to move on to the next phase of your detailing process which involves polish and protection.
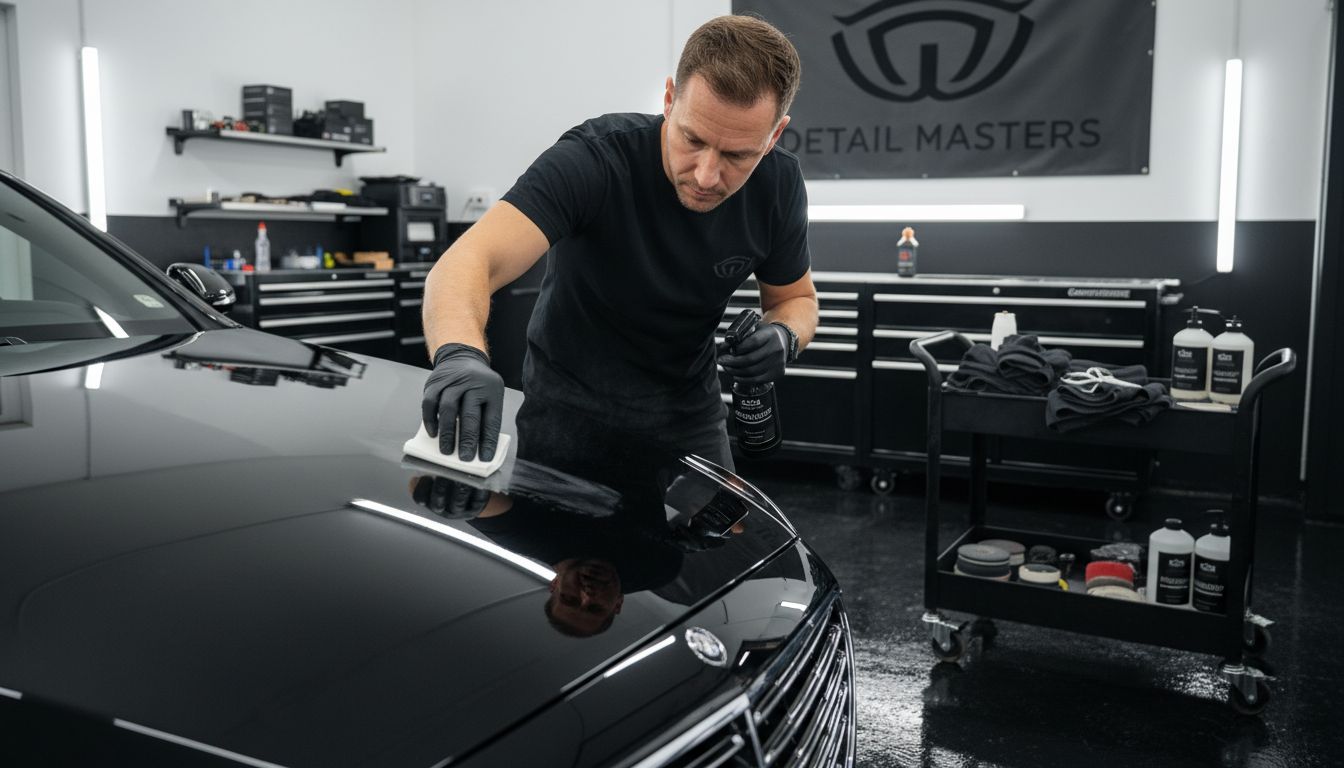
Step 3: Restore shine with polish and protective wax
Restoring your vehicle’s shine is the transformative stage that brings your detailing work to life. This crucial step will transform your car’s appearance from clean to absolutely stunning.
According to the National Kidney Foundation, the polishing process involves buffing out surface imperfections and applying protective layers. The University of Central Florida’s Auto Detailing Guide emphasizes not just polishing paint but also treating wheels, tires, headlights, and chrome trim for a comprehensive finish.
Here are the key steps for restoring your vehicle’s shine:
Select an appropriate polish for your paint type
Apply polish using circular motions with microfiber applicator
Work in small sections to ensure even coverage
Use light to moderate pressure
Buff away polish residue with clean microfiber towel
Apply protective wax or sealant in thin even layers
A pro tip is to work in a shaded area to prevent polish from drying too quickly and creating swirl marks. The Shine Maintenance Detail and Sealant recommends using high quality products matched to your specific vehicle paint type.
With your vehicle now polished and protected, you are prepared for the final detailing stages that will lock in your hard work and create a showroom worthy finish.
Step 4: Deep clean and condition the interior
Deep cleaning your vehicle’s interior transforms it from simply tidy to meticulously maintained. This comprehensive process will restore your car’s inner environment to showroom quality while protecting its surfaces from future wear.
According to the University of Central Florida’s Auto Detailing Guide, the interior detailing process involves thorough vacuuming, specialized cleaning for different surface types, and targeted conditioning. The National Kidney Foundation recommends using UV blocking products for leather and avoiding greasy cleaners that can damage interior materials.
Here are the essential steps for deep interior cleaning:
Remove all personal items and floor mats
Thoroughly vacuum seats, carpets, and floor areas
Use appropriate cleaner for fabric or leather surfaces
Clean dashboard and console with microfiber cloth
Apply leather conditioner to leather surfaces
Clean air vents with soft brushes
Wipe down steering wheel and controls
Use glass cleaner for interior windows
A critical pro tip is to test any cleaning product on a small hidden area first to ensure it does not cause discoloration or damage. Interior Detail Clean Only emphasizes the importance of using products specifically designed for automotive interiors.
With your vehicle’s interior now meticulously cleaned and conditioned, you have completed the major steps of a professional grade detailing process. Your car is ready to look and feel its absolute best.
Step 5: Inspect and perfect details for a flawless finish
The final stage of auto detailing is a meticulous inspection and perfection process that elevates your vehicle from clean to truly extraordinary. This critical step ensures every surface meets professional standards and nothing escapes your careful scrutiny.
According to the National Kidney Foundation, final detailing involves strategic cleaning techniques like using minimal glass cleaner to reduce streaking and avoiding ammonia-based products on tinted windows. The University of Central Florida’s Auto Detailing Guide suggests completing the process with comprehensive engine bay detailing as a final comprehensive touch.
Key inspection and perfection steps include:
Check all exterior surfaces for remaining imperfections
Use microfiber towels for final wipe down
Clean windows using minimal glass cleaner
Inspect trim and chrome for water spots
Verify no streaks remain on painted surfaces
Clean door jambs and other overlooked areas
Perform final light inspection in bright sunlight
Touch up any missed spots
A critical pro tip is to use natural light for your final inspection to reveal any remaining imperfections that might be hidden under artificial lighting. How to Detail a Car for a Showroom Shine at Home recommends taking your time during this crucial final stage.
With this comprehensive inspection complete, your vehicle now represents the pinnacle of automotive detailing. Every surface gleams with professional quality and meticulous care.
Achieve a Spotless Finish with Expert Care and Quality Products
Following a full auto detail process can be overwhelming without the right tools and guidance. You want to remove every trace of dirt, restore the shine, and protect both exterior and interior surfaces but lack access to professional-grade products and expert support. This article highlights the importance of detailed steps such as proper decontamination, polishing, and interior conditioning that many car owners struggle to replicate at home.
At Keep Clean ATX, we understand the frustration of chasing that showroom shine without the best solutions. Our Exterior Care and Interior Care product lines provide you with specialized cleaners, waxes, and conditioners designed exactly for what this full detailing process demands. We bring you trusted, high-quality supplies so you can confidently remove contaminants, restore gloss, and protect your vehicle for the long haul.
Do not wait to give your vehicle the care it deserves. Explore our complete range of All Products and book a professional detail through our easy-to-use website Keep Clean ATX today. Take the next step to transform your car into a spotless masterpiece that commands attention on every drive.
Frequently Asked Questions
What are the key tools needed for a full auto detail process?
To complete a full auto detail process, gather essential tools such as microfiber towels, wash mitts, automotive soap, cleaning brushes, and a clay bar kit. Start by assembling high-quality supplies to avoid damaging your vehicle’s finish.
How do I properly clean and decontaminate my vehicle’s exterior surfaces?
Begin your cleaning by washing the entire vehicle with automotive soap, rinsing thoroughly, and then applying a clay bar with lubricant. Focus on small sections to ensure the surface remains well-lubricated and free from scratches while decontaminating.
What steps should I take to restore shine with polish and wax?
To restore shine, select an appropriate polish based on your paint type, apply it in circular motions, and buff away the residue using a clean microfiber towel. Ensure you apply wax or sealant in thin, even layers to maximize protection and gloss.
How can I deep clean and condition my vehicle’s interior?
Deep clean by vacuuming all seats, carpets, and floor areas, then use specialized cleaners for fabric or leather surfaces. After cleaning, apply a leather conditioner (if applicable) to protect and enhance your interior’s appearance.
What is the importance of inspecting my vehicle after detailing?
Inspecting your vehicle after the detailing process helps identify any missed spots or imperfections. Perform a thorough check in natural light, ensuring every surface is perfected for a truly spotless finish, and address any areas that need extra attention.
How often should I perform a full auto detail for optimal results?
For optimal results, consider performing a full auto detail every 4-6 months, depending on your vehicle’s usage and exposure to environmental factors. Regular detailing helps maintain your vehicle’s appearance and protects against wear and tear.
Recommended


Comments